
Practical guides · maintenance
Before Heavy Rain: A Sump Pump Readiness Checklist
A pre-storm sump check starts with dry, safe access. Review debris, float clearance, discharge routing, alarms and backup power—and recognize when to stay out.
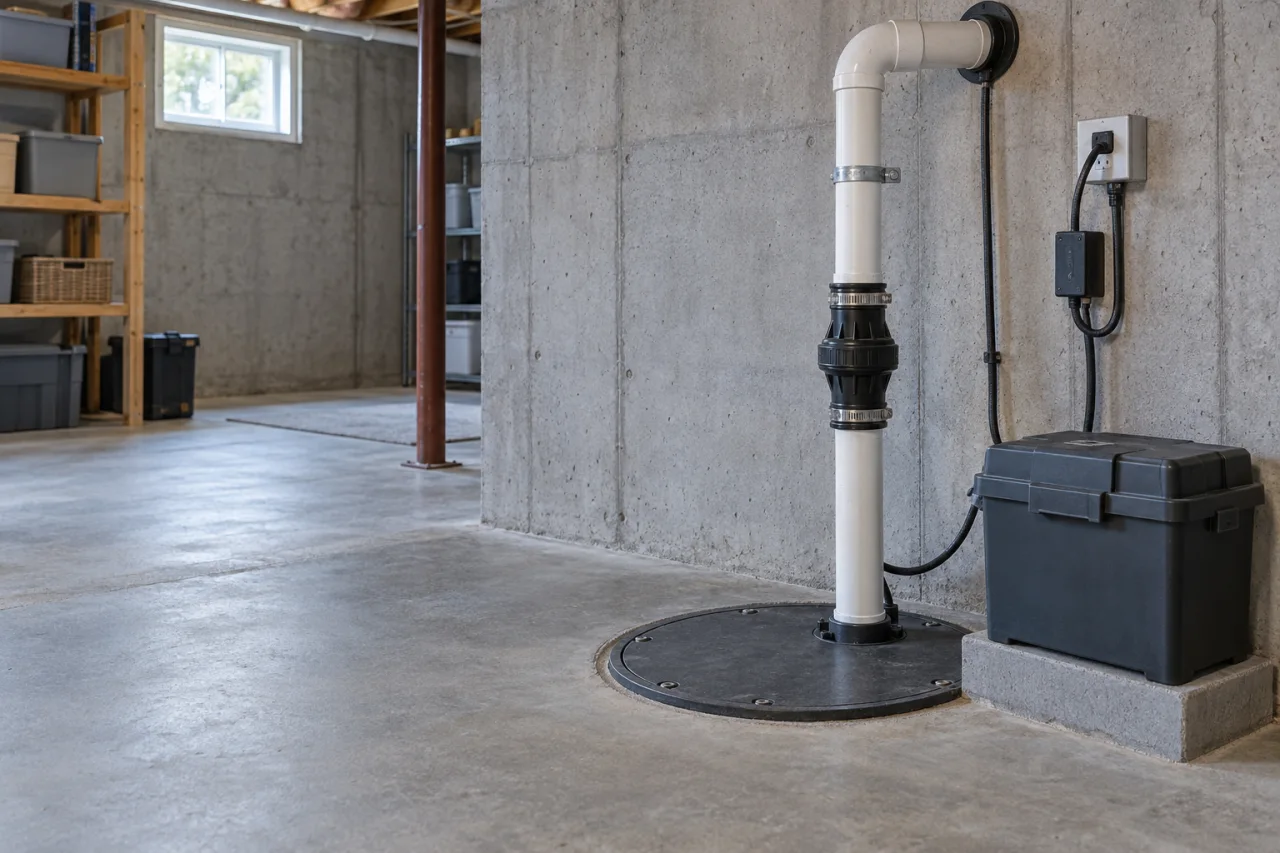
What you’ll learn
- Never enter water near electrical equipment or cross standing water to reach a breaker panel.
- Use the exact equipment manuals; isolate every power source before any permitted hands-on work.
- Check the whole water-removal path: basin, float, discharge piping and receiving ground.
- An alarm test is not a pumping test, and backup battery runtime is not unlimited.
- Resolve failed tests before heavy rain, while remembering that no sump system guarantees flood prevention.
Before heavy rain, the useful question is not simply whether your sump pump has power. Can water reach the basin, trigger the float and leave through a clear discharge route—and what happens if utility power fails? This checklist helps homeowners separate safe observations from tasks that require qualified help. Start while access is dry, follow your equipment’s manuals and never enter water near electrical equipment.
1. Start before the rain, with the right instructions
For West End and Moore County homeowners, storm preparation should account for heavy rain—not just coastal wind forecasts. Tropical systems can produce flooding far inland, including after a storm has weakened.
Use this checklist before conditions deteriorate. Find the exact model instructions first: primary pumps, backup pumps and alarms can have different controls and maintenance requirements. If equipment identification requires removing electrical covers or reaching into the basin, leave that task to a qualified professional.
Treat each item as a question to resolve, not a reason to dismantle unfamiliar equipment. A check you cannot complete safely belongs on the service request.
- Confirm a dry, safely accessible route before approaching equipment.
- Find the manuals for the primary pump, backup system and alarm.
- Identify visible debris and possible float obstructions without reaching into energized equipment.
- Inspect the accessible discharge route and exterior outlet.
- Follow model-specific instructions for operational and alarm tests.
- Review battery condition, charging status and the power-loss plan.
2. Make electrical safety the stopping point
Do not enter water near energized equipment, submerged cords or electrical outlets. Do not touch a wet plug, pump controller or battery connection. An outage is not permission to enter: electrical conditions can be uncertain, and power may return.
If electrical equipment is wet or near water, power isolation must be handled safely. Never cross standing water to reach the main switch, and never operate electrical equipment while standing in water. If the panel cannot be reached safely, call an electrician for assistance.
Leave immediately if you see sparks or hear electrical buzzing or crackling. Suspected electric shock is a 911 emergency. Ordinary rubber boots are not a reason to approach potentially energized water. After electrical equipment has flooded, do not restore power until a qualified electrician has inspected it.
3. Look for accessible basin debris
From a dry, safe position, look for loose objects around the basin and visible debris inside any intended inspection opening. Sediment buildup and foreign objects can interfere with the pump or float. Keep storage away from the access area so nothing can fall into the basin during an inspection.
Before any hands-on cleaning or adjustment, all pump power sources must be disconnected according to the manuals—including backup power. Unplugging only the primary pump does not isolate a battery-powered unit. If you cannot identify every source, stop.
Limit homeowner cleaning to readily accessible loose debris where the manufacturer permits it and safe isolation is understood. Leave accumulated sludge, pump removal, impeller access and uncertain wiring to qualified service personnel. Do not cut a sealed cover or disconnect piping to gain access. Restore the cover afterward; it helps keep foreign objects out.
4. Check float clearance without forcing the switch
A float must move through its intended travel without catching on a basin wall, pipe, cord or another pump. A motor that appears sound cannot compensate for a switch prevented from reaching its start position.
Use a visual check first. Look for a cord draped across the float path, an object resting against the mechanism or equipment that appears displaced. Do not reach into an energized basin to free or lift the float, and do not use a metal tool to trigger it.
Do not change tether lengths or switch settings based on appearance alone. Float arrangements and operating levels differ by model. If clearance is doubtful, ask for an assessment of the entire float path, not simply whether the motor can run.
5. Follow the discharge beyond the basement
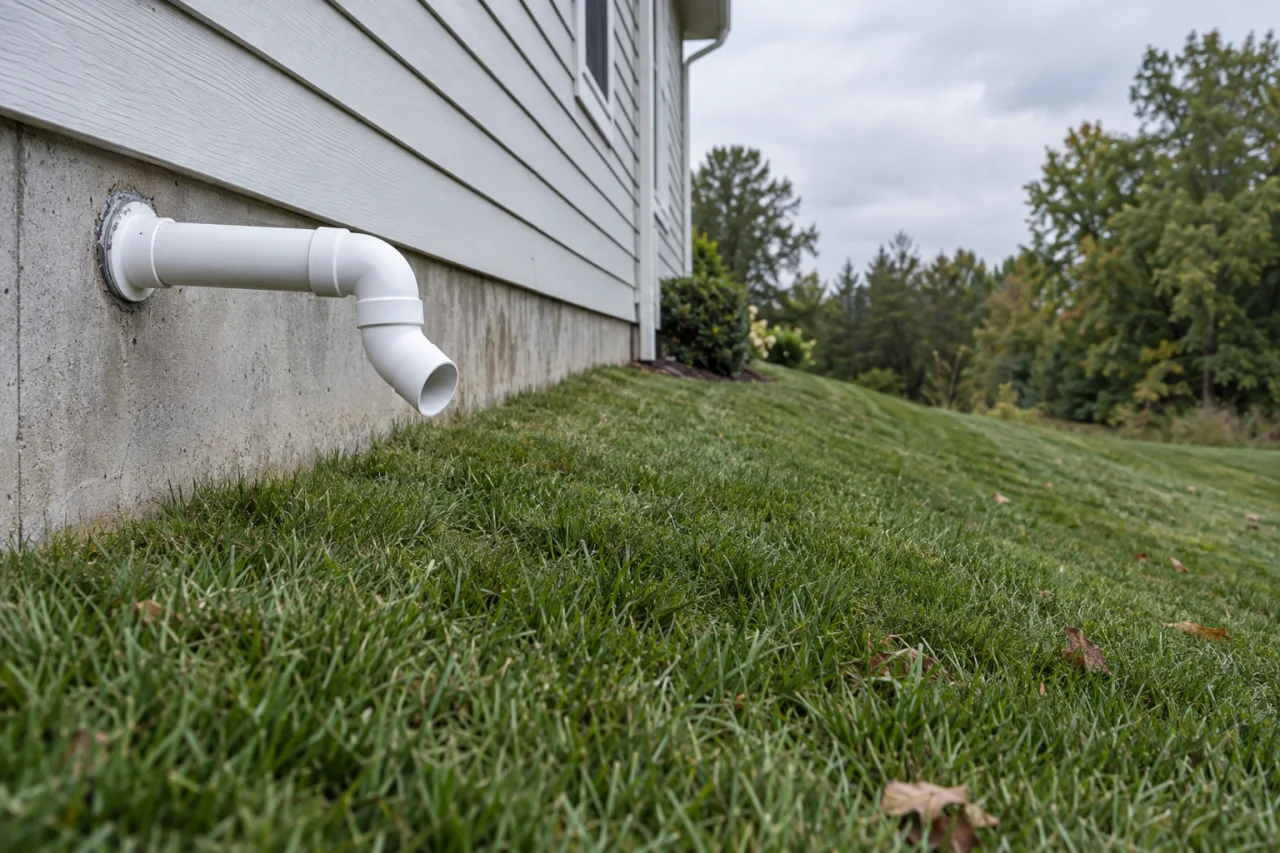
Follow accessible discharge piping toward its outlet. An open basin and free float are not enough if water cannot leave through the discharge line.
Outside, look for leaves, soil or landscaping blocking the opening. The discharge should carry water away from the foundation, not toward a slope that returns it to the house or a neighbor’s property. Water deposited beside the foundation can circulate back through the drainage system.
Do not improvise a connection to a sewer, drain or other outlet. The permitted destination depends on the property and local requirements. A buried route that cannot be observed may need professional assessment. Describe what you can actually see rather than assuming that an unobstructed pipe opening proves the entire line is clear.
- Locate the exterior outlet without entering flooded or otherwise hazardous ground.
- Look for visible obstructions, crushed hose sections or disconnected piping.
- Check whether the receiving ground slopes back toward the house.
- Ask about an approved discharge destination before changing the route.
6. Test water removal—not just motor noise
Only attempt a homeowner operational test when the manual permits it, the floor and access are dry, the installation appears intact and you understand the instructions. Otherwise, request testing through Sump Pumps service.
Where specified, a water test raises the basin level enough to activate the pump. Add water gradually through the intended access point, keep hands and tools out, and watch for automatic startup and a falling water level. Confirm discharge outside only if doing so is safe. Stop adding water if the pump fails to start or the level continues rising; do not approach an overflow to troubleshoot.
A successful check is more than motor noise. Water must move out, and the pump must stop at its normal operating level. Do not bypass a float, rewire controls or run the pump dry as a shortcut. Test the backup separately only under its own instructions, and confirm normal operation is restored afterward.
7. Separate alarms, batteries and outage protection
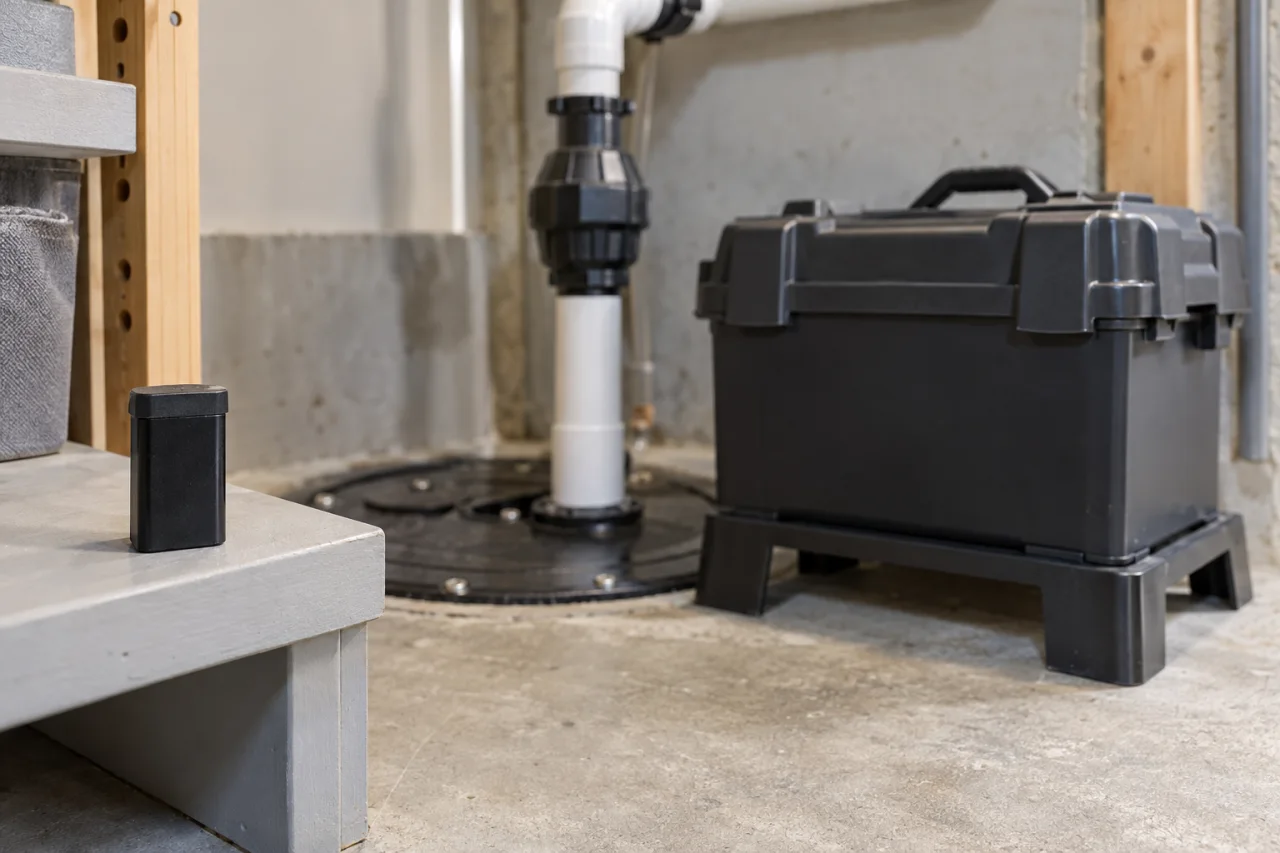
Read the alarm and charger indications against the correct manual. Some controllers provide separate alarm-test and pump-test functions. A sounding horn proves neither water removal nor a clear discharge route. Silencing an alarm also does not resolve its cause.
Distinguish the small alarm battery from the battery that runs the backup pump. Check accessible status indicators and look for visible cable damage or corrosion without opening enclosures or touching terminals. Battery service and replacement must follow the specified battery and charger requirements; do not open a sealed battery or substitute a different chemistry casually.
Battery runtime depends on capacity, charge, pumping height and demand. A second utility-powered pump alone does not solve an outage. Water-powered backup is another option, but systems such as SumpJet depend on suitable municipal water pressure and require appropriate backflow protection and discharge arrangements. Compare these limitations in Choosing a Sump Pump: Submersible, Pedestal and Backup Options.
8. Know when to call—and what a pump cannot promise
Arrange help before the storm when a pump fails its test, a float appears obstructed, discharge is uncertain or a battery fault remains unresolved. Useful questions include: Can both pumps remove water independently? What limits backup runtime? Is the discharge suitable for this property? Which maintenance tasks are intended for the homeowner?
No pump guarantees flood prevention. Water can arrive faster than the system can remove it, power can fail, batteries can become exhausted and drainage problems can extend beyond the sump. Continue monitoring weather alerts and follow evacuation instructions rather than staying to protect equipment.
The Plumbing Knight provides Emergency Plumbing Services for sump pump malfunctions in Moore County. Emergency plumbing dispatch is available 24/7; call and press 2. Describe rising water and any electrical concerns before anyone approaches. For broader triage, review plumbing emergency warning signs and safe first steps. Electrical hazards require electrical safety assistance, not a closer look at the pump.
Questions & answers
Can I check the sump pump if water is already on the basement floor?
Do not enter water near electrical equipment or submerged cords. Do not cross standing water to reach the breaker panel. Stay out and arrange electrical safety assistance; call 911 for immediate danger or suspected electric shock.
Does hearing the motor mean the pump is working?
No. A useful operational check confirms that the water level falls and water reaches the intended discharge location. A motor can run without successfully moving water. Stop adding test water if the level does not fall, and arrange an assessment.
How long will a backup battery run the pump?
There is no universal runtime. Battery capacity, charge level, pumping height and operating demand matter. Ask for model-specific performance information and clarify whether a quoted runtime assumes continuous pumping or intermittent cycles.
Does the alarm test also test the backup pump?
Not necessarily. Some controllers have separate alarm-test and pump-test functions. An audible alarm test does not establish that the pump removes water or that the discharge route is clear. Follow the instructions for your exact controller.
How often should I repeat the checklist?
Use the maintenance schedule for the primary pump, backup system and battery rather than one universal interval. For example, the Liberty Model 441 backup manual calls for monthly system inspection and testing. A pre-storm check supplements routine maintenance; it does not replace it.
Sources & further reading
- National Weather Service: Hurricane Safety Tips and Resources
Supports the introduction’s inland storm context: tropical cyclones can cause heavy-rain flooding hundreds of miles inland, with flooding persisting after the storm dissipates. ([weather.gov](https://www.weather.gov/safety/hurricane))
- CDC: What to Do to Protect Yourself From Electrical Hazards
Supports avoiding wet electrical equipment, never crossing standing water to reach the main switch, obtaining electrician assistance, inspection before restoring power and calling 911 for suspected electric shock. ([cdc.gov](https://www.cdc.gov/natural-disasters/response/what-to-do-protect-yourself-from-electrical-hazards.html))
- National Weather Service: During a Flood
Supports staying out of water that may be energized, recognizing sparks and electrical noises as reasons to leave, monitoring alerts and obeying evacuation orders. ([weather.gov](https://www.weather.gov/safety/flood-during?utm_source=openai))
- Liberty Pumps: S30-Series Installation Manual 7175000H
Supports debris and buildup checks, unobstructed float travel, disconnecting power before handling or adjustment, model-specific float settings and a basin cover to prevent foreign objects entering. ([libertypumps.com](https://www.libertypumps.com/Portals/0/Files/Install%20Manuals/English/7175000_EN.pdf?ver=Yqm7bqghCXEKO0tbDbW43g%3D%3D))
- Liberty Pumps: Dewatering/Effluent Submersible Pumps Installation Manual 7035000R
Supports qualified maintenance, power isolation, free float movement, verification of pump and float operation through water cycles, check-valve function and assessment of pumps that run without satisfactory water removal. ([libertypumps.com](https://www.libertypumps.com/wholesale/wp-content/uploads/sites/3/7035000_EN.pdf))
- Liberty Pumps: Model 441 Battery Back-up System Installation Manual 4414000F
Supports monthly Model 441 inspection and testing, separate verification of primary and backup operation, charger and battery maintenance, corrosion checks, power isolation and warnings against conductive tools in an energized basin. ([libertypumps.com](https://www.libertypumps.com/Portals/0/Files/Install%20Manuals/English/4414000_EN.pdf?ver=KiSM7DiRxktvhm-7LR1Y_w%3D%3D))
- Liberty Pumps: 442 Series Battery Backup System Installation Manual 1074000D
Supports separate alarm-test and pump-test functions, the separate small interface battery, backup runtime factors and battery exhaustion during extended operation. ([libertypumps.com](https://www.libertypumps.com/Portals/0/Files/Install%20Manuals/English/1074000_EN.pdf))
- Liberty Pumps: SumpJet Water Powered Backup System Installation Manual 5824000I
Supports SumpJet’s dependence on municipal water supply and operating pressure, locally applicable backflow protection, distinct discharge requirements and its role as emergency backup rather than a primary pump. ([libertypumps.com](https://www.libertypumps.com/Portals/0/Files/Install%20Manuals/English/5824000_EN.pdf?ver=Zr4sB_jWU1WxtcsvHdvZzw%3D%3D))
Prepared and automatically checked on . Conditions, costs and requirements can change. Ask about the details that apply to your situation.
Continue reading
Helpful next reads

Is This a Plumbing Emergency? Warning Signs and Safe First Steps
Uncontrolled leaks, sewage backups and overflowing fixtures call for different responses. Learn when to stop water use, when to stay away and what to tell emergency dispatch.
Preparing Moore County Plumbing for a Freeze
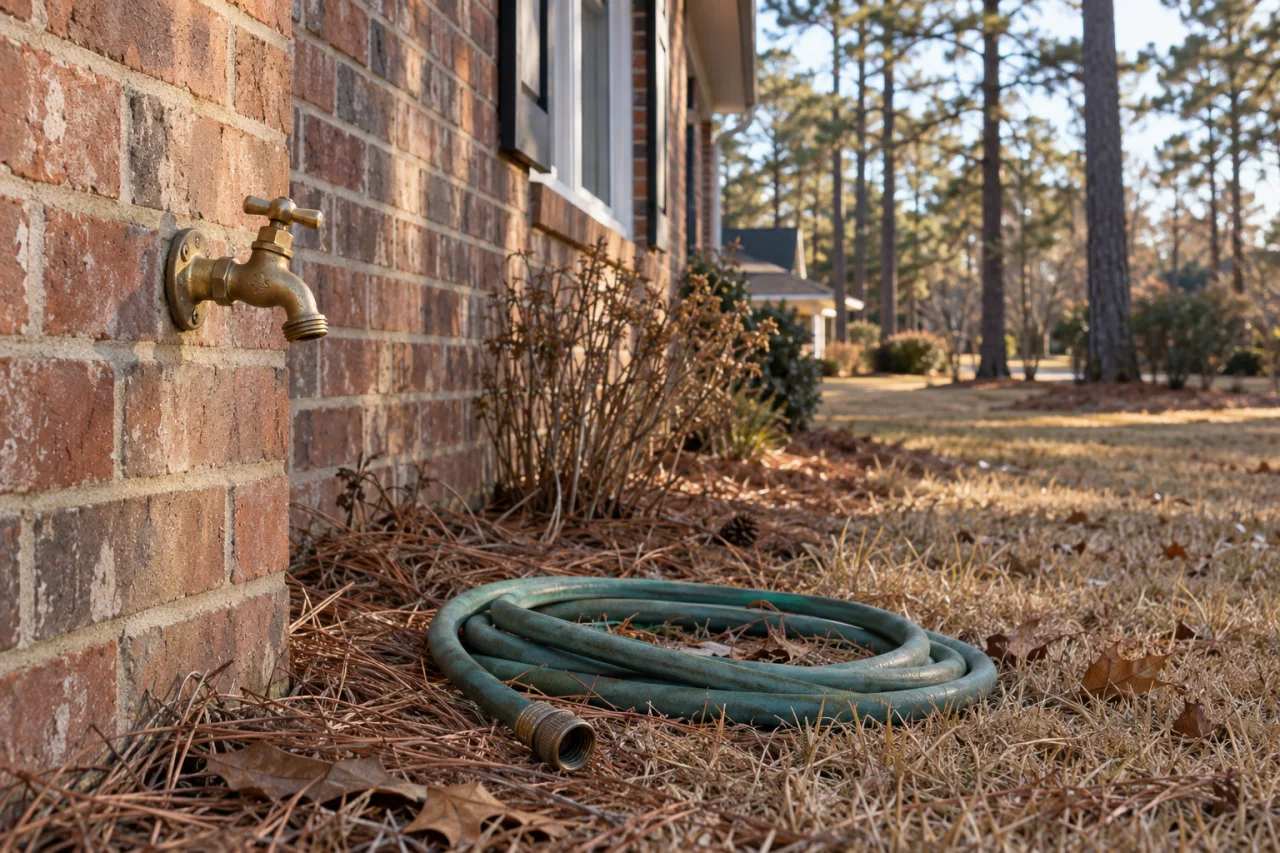
A practical freeze-preparation guide for Moore County homes: disconnect hoses, protect exposed supply lines, locate the water shutoff and recognize when suspected frozen pipes need professional help.
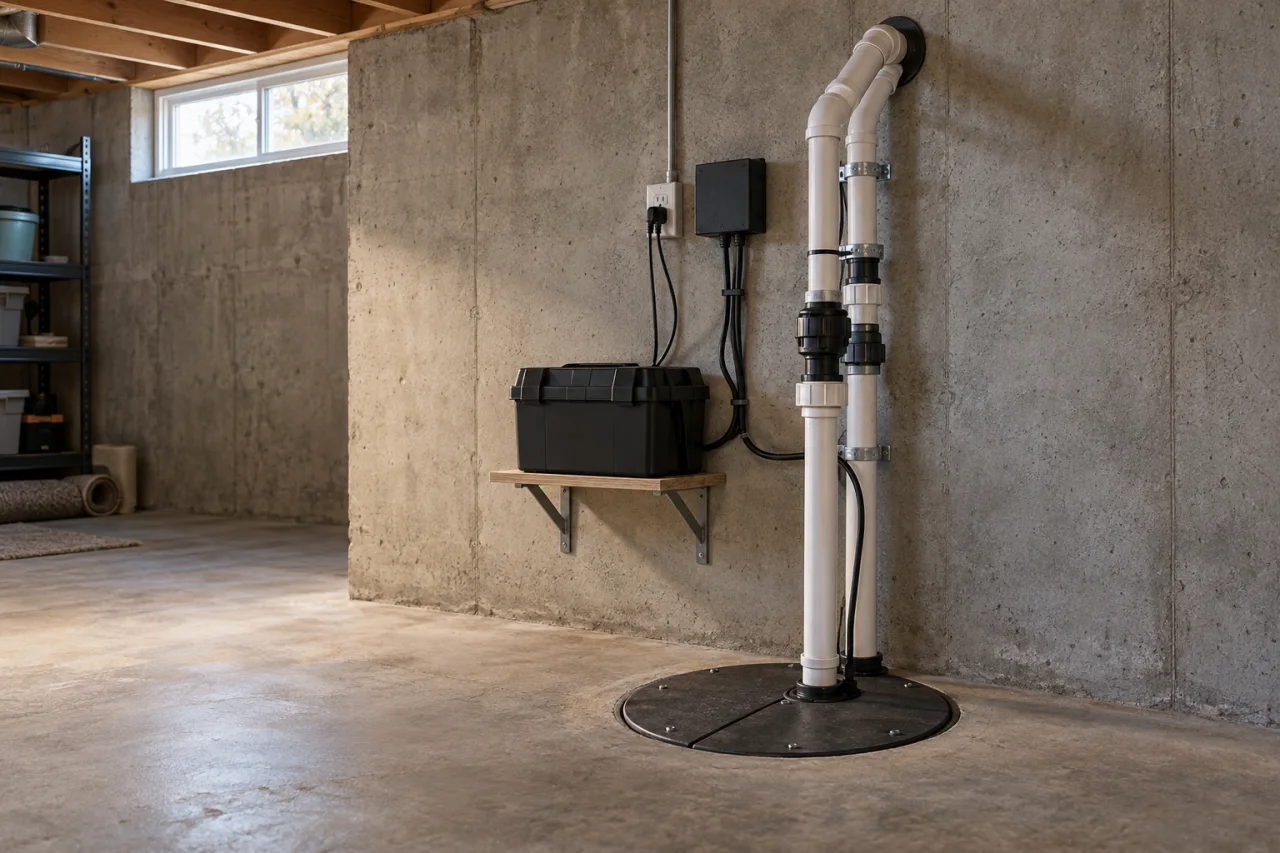
Choosing a Sump Pump: Submersible, Pedestal and Backup Options
The right sump pump depends on more than horsepower. Compare physical fit, flow at discharge head, float operation and backup battery needs before choosing a system.